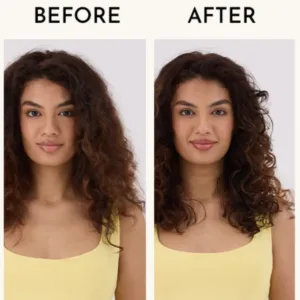
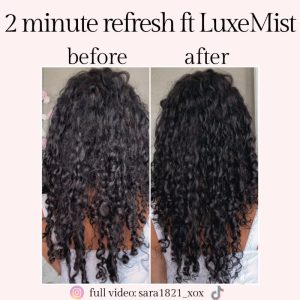
Why Your Curly Hair Refresh Isn’t Working (and What to Fix!)
You wake up, look in the mirror, and think: “Okay… I can work with this.”
Then you reach for your spray bottle, a little gel, maybe a cream… and suddenly your curls look worse than before. Limp, frizzy, white flakes, or weird stringy pieces that don’t match the rest of your hair.
Sound familiar?
Refreshing curls is a skill, and if yours isn’t turning out the way you expect, you’re not alone. Let’s break down the most common curl-refresh mistakes and how to fix them so Day 2–5 hair becomes a breeze.
1. You’re Refreshing With the Wrong Products
Not all products refresh well.
Some get sticky. Some flake. Some build up. And some just don’t re-activate after they’ve dried.
Some don’t mix well with what is already in your hair.
How to fix it:
Use products designed for reactivation or lightweight layering.
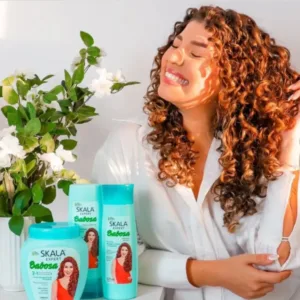
Some curl-refresh heroes available at Curly Life include:
- Flora & Curl Sweet Hibiscus Curl Volumising Foam (reactivates beautifully)
- Curljar Creme Gel Curl Activator (mix with water in your palm for an easy, mess free refresh)
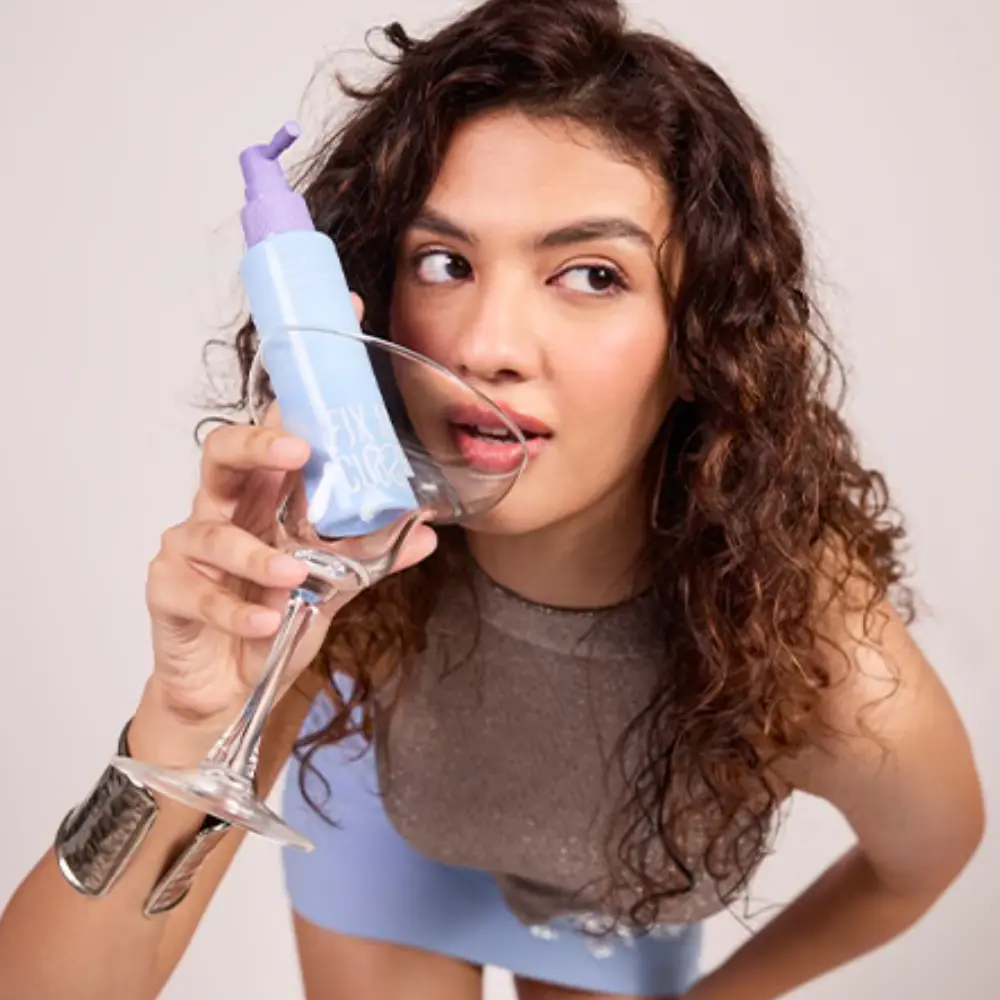
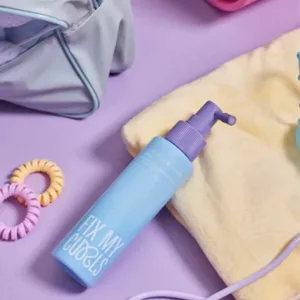
- Fix My Curls Curl Gelly Activator Spray (a little thicker than a mist with a light jelly texture)
Look for words like reactivate, refresh, hydrating mist, or touch-up on the label.
2. You’re Adding Too Much Product
This is the #1 culprit.
On wash day, your hair can handle layers.
Not on refresh day.
More product on top of old product equals:
flaking
buildup
tackiness
weighed-down curls
How to fix it:
Use tiny amounts, start with pea-sized or 1–2 sprays.
When refreshing curls, less is truly more.
3. You’re Not Adding Enough Water
Refreshing isn’t just about adding product, your curls need moisture to reactivate what’s already in your hair.
Dry product + dry hair = chaos.
How to fix it:
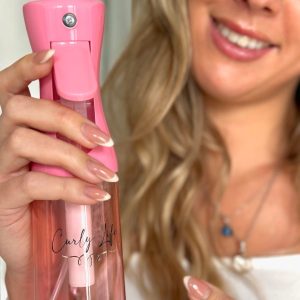
Use a fine mist spray bottle (Curly Girl essential!).
Lightly mist curls before adding anything else.
You want them soft and flexible, not soaking wet.
4. You’re Only Fixing the Top Layer
Most curlies refresh the halo, the front, sides, and top, but forget the curls underneath. That leads to:
wonky back pieces
flattened crown
inconsistent curl patterns
curls that don’t match
How to fix it:
Lift your hair in sections before refreshing.
You don’t need a full wash-day routine, just touch the curls that need it.
5. You’re Disrupting Your Curl Clumps
When you rake or finger-comb during a refresh, you break up your original clumps. This creates frizz, fluffy ends, and uneven curl patterns.
How to fix it:
Use pressing and smoothing instead of raking.
Gently glaze product over the curl, then scrunch.

6. You’re Refreshing on the Wrong Day
Some curl patterns don’t refresh on Day 2 — because Day 2 looks amazing by itself!
Some curl patterns refresh best on Day 3 instead.
How to fix it:
Only refresh when your curls actually need it.
If Day 2 hair looks good — leave it!
7. You’re Refreshing With Heat (and Using It Wrong)
Diffusers are great, but refreshing incorrectly with heat can cause frizz or root puffiness.
How to fix it:
- Always diffuse on low heat and low airflow
- Hover-diffuse instead of blasting curls
- Stop diffusing as soon as curls are dry, don’t over-dry them
- Don’t be too harsh on yourself, there is no one-size-fits-all!
- Every curly refreshes differently. Some love:
- Spray + scrunch
- Gel + water
- Conditioner mist
- Oil sealing
- Cream-based refresh
- Finger coiling
- Clump misting
There’s no “one right way.” There’s only the way that works for your hair.
Try this simple baseline routine:
- Lightly mist curls
- Add a tiny amount of mist/gel/cream
- Scrunch
- Diffuse if needed
- Set with a bonnet overnight
- Then tweak it based on your curls.
What this means for you
Refreshing isn’t supposed to be stressful, it’s supposed to be easy.
Once you fix these common mistakes, your refresh days will feel more like a quick touch-up and less like a full wash day.
And the best part?
When you refresh correctly, your wash days last longer, your curls stay defined, and your hair stays healthier.